


How To Pitch Your Project Using A Storyboard
Want to win over producers, investors, or clients? Learn how to pitch your film or series idea using a cinematic storyboard that sells your vision.

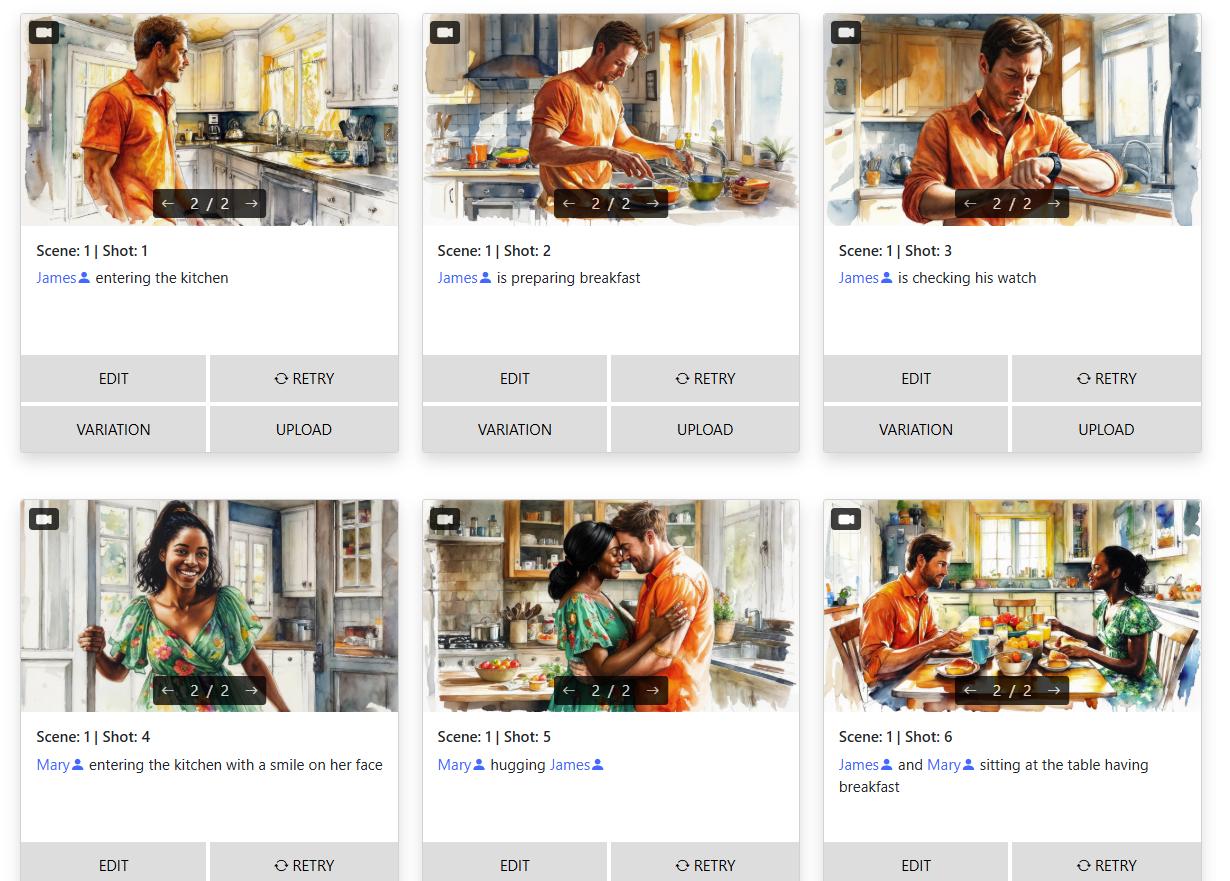
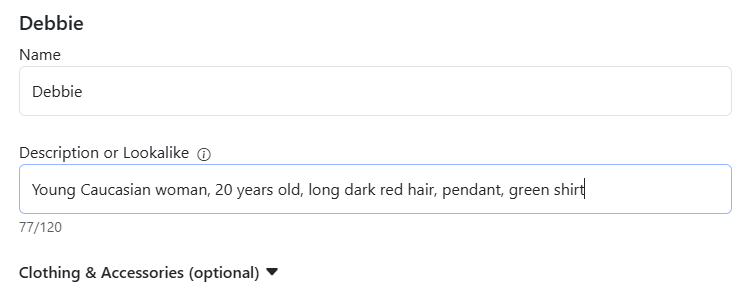
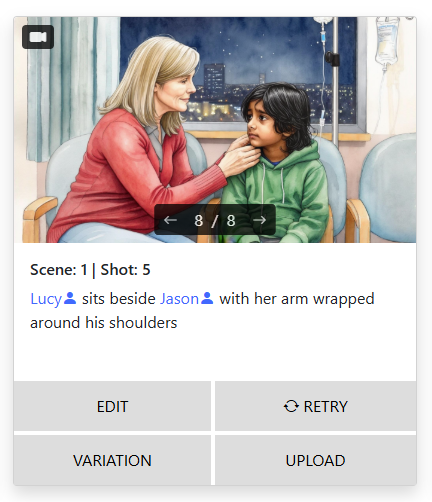
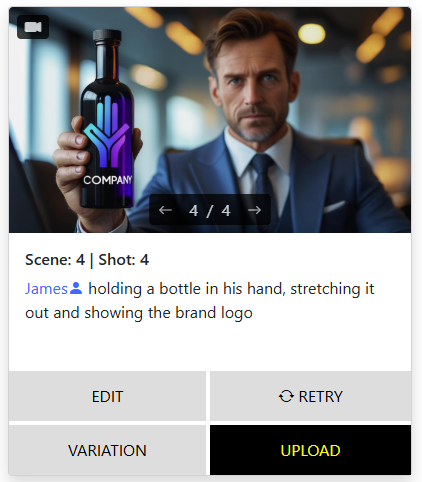
The Secret to Consistent Characters in Your AI Storyboards
Struggling with character consistency in your AI-generated storyboards? Learn the tricks pros use to keep faces, outfits, and vibes aligned.
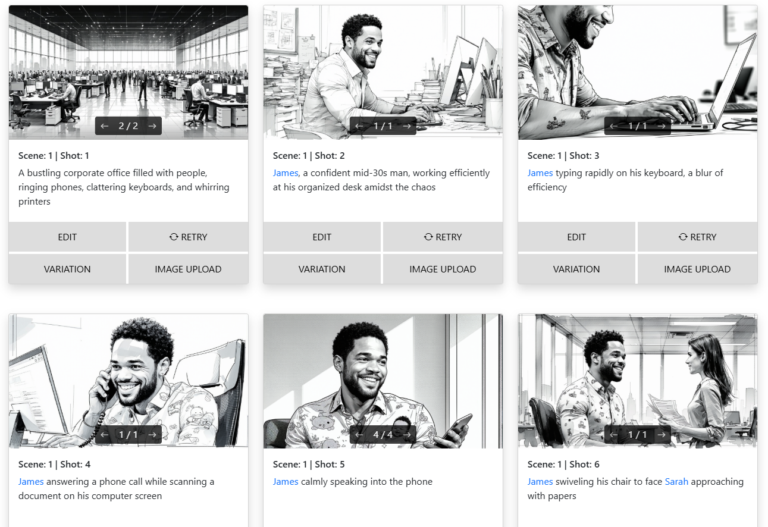
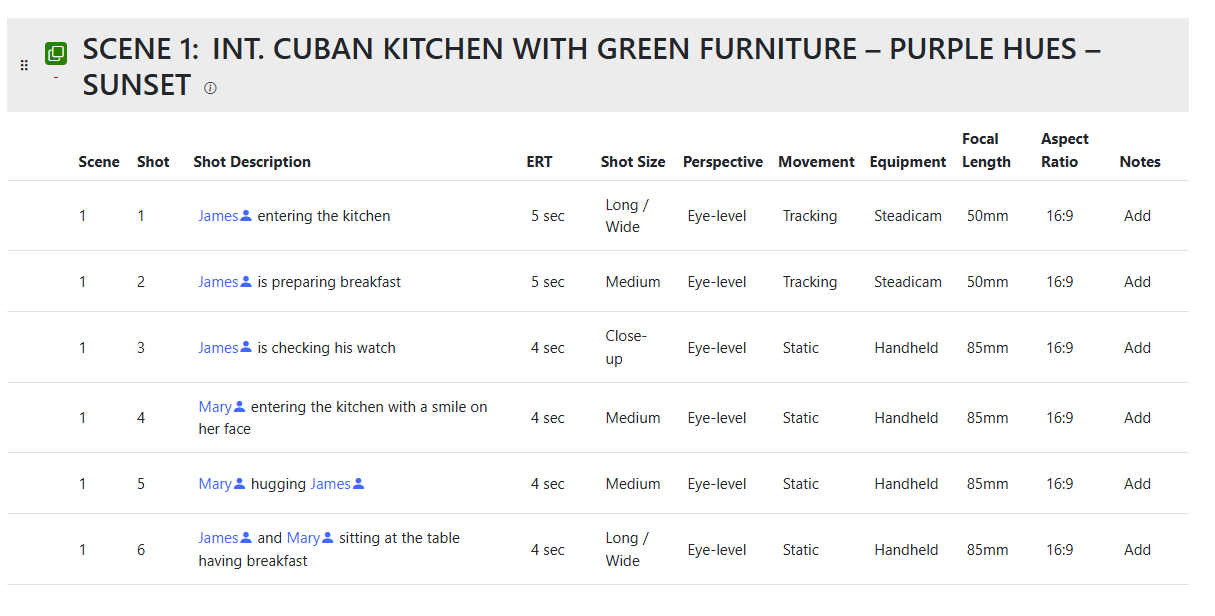
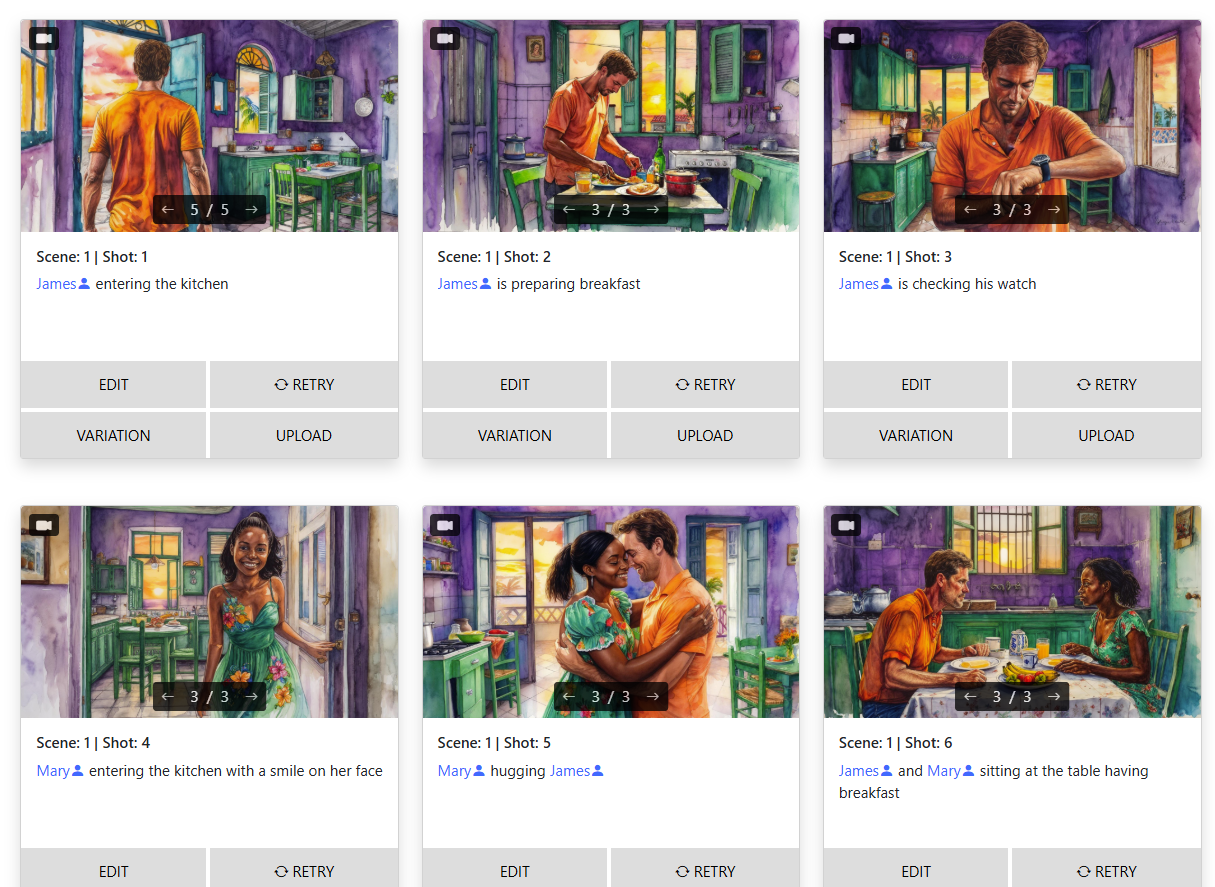
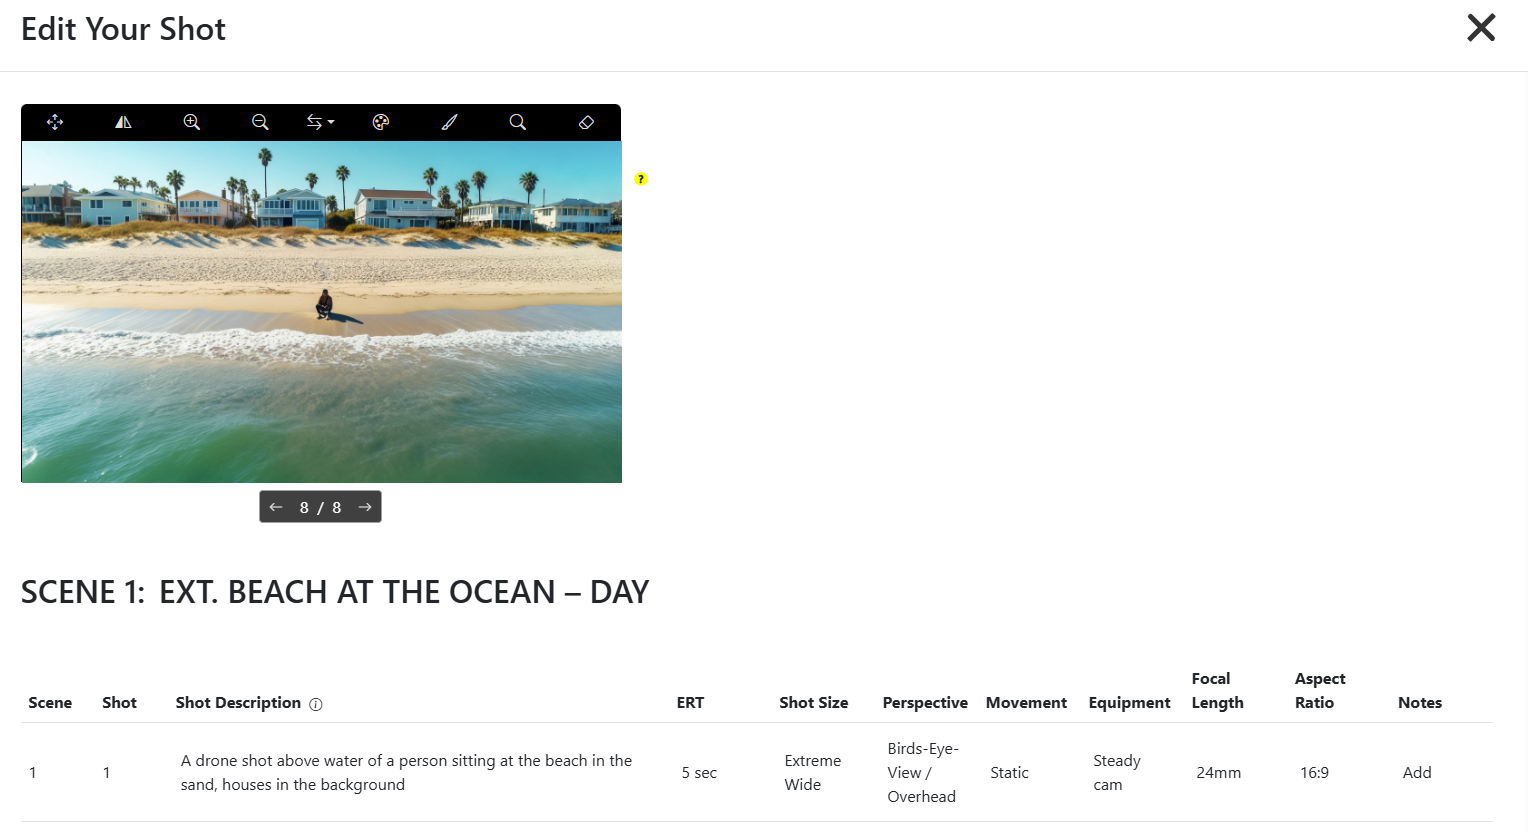
How To Storyboard with AI (Even If You Can’t Draw)
Learn how to storyboard your film or video project using AI. Whether you’re a beginner or a seasoned pro, here’s how to get cinematic storyboards fast — no drawing required.
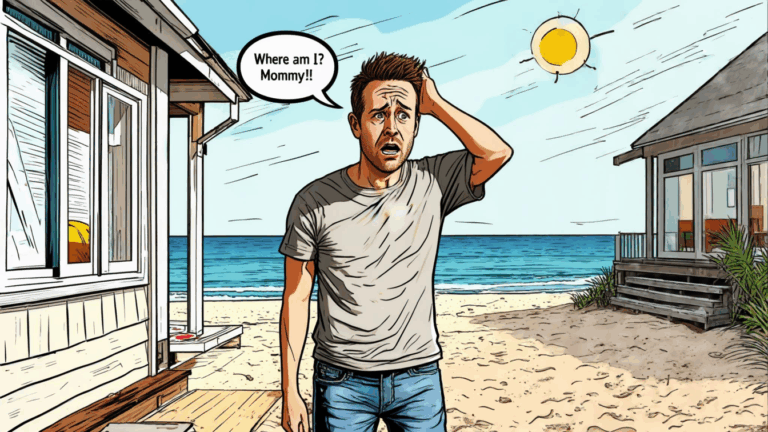
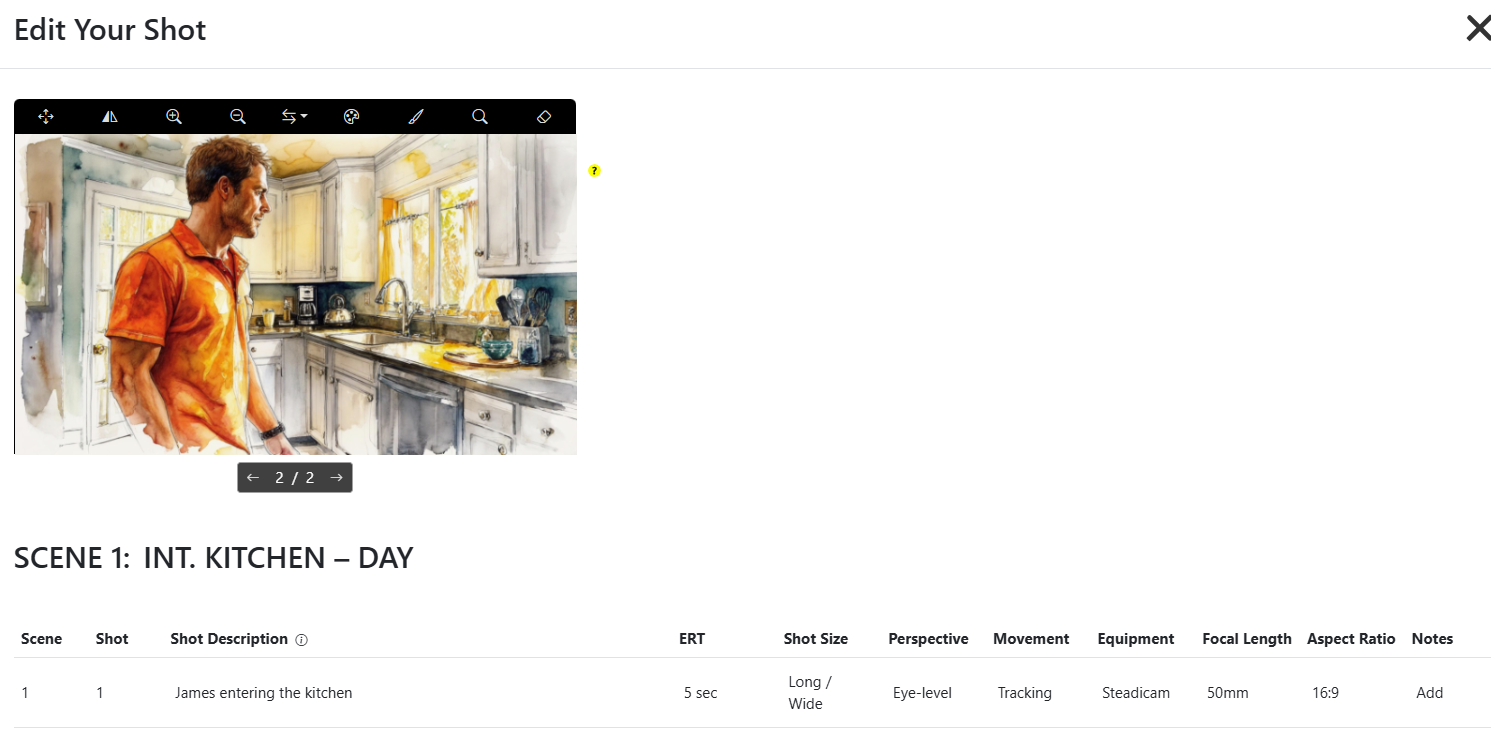
🎬 The Ultimate Prompt Guide for Storyboarder.ai
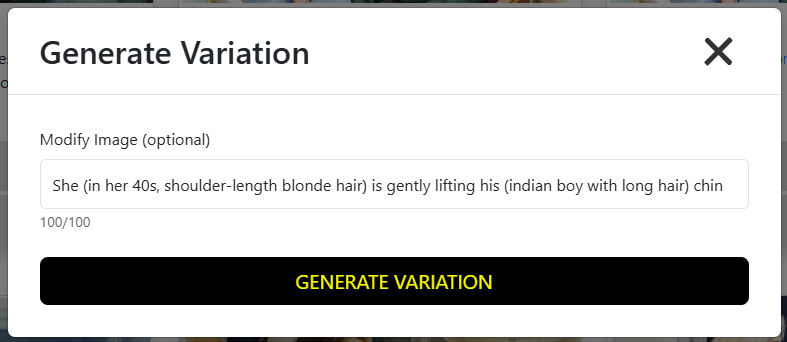
Maybe the lighting’s inconsistent, a character is missing, or your product logo didn’t make it into the scene. Don’t worry — it’s not you, it’s your prompt.
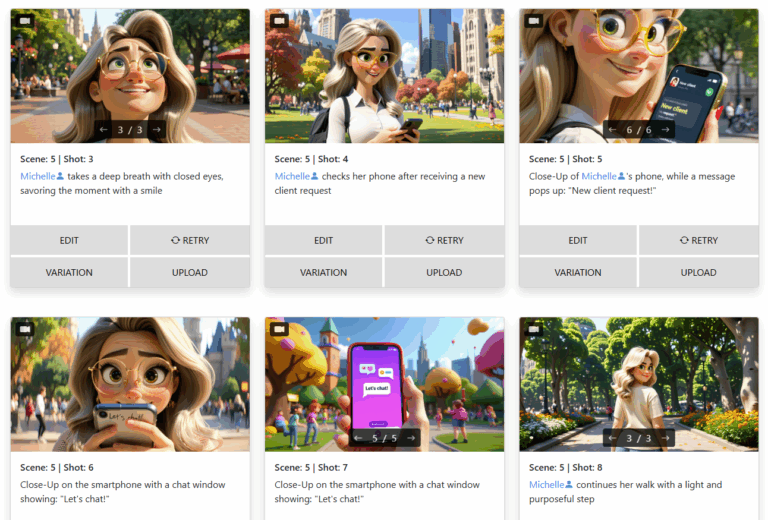
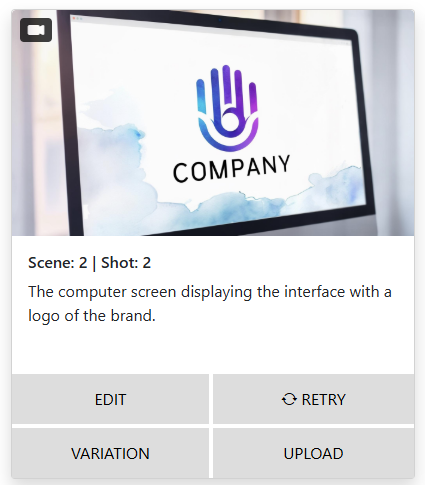
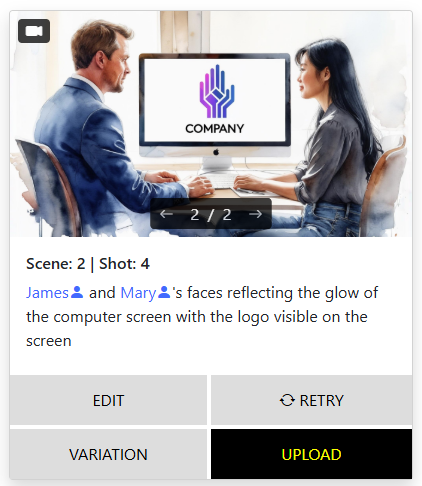
Need some inspiration on how others are using Storyboarder.ai?
Take a look at real user projects and see what’s possible. If it’s commercials, short film or a feature – everything’s possible!
What’s the best Storyboarding AI tool out there?
Looking for the best AI tool for storyboarding your film or series? Here’s why Storyboarder.ai is the top pick for filmmakers worldwide.